The Remocube 3D printer
Redesigning a 3D printer for replication
Overview
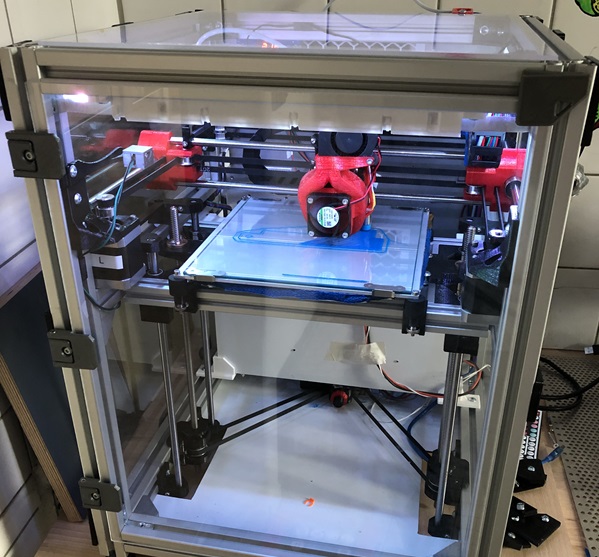
The Remocube 3D printer was developed as part of a citizen-oriented machine-building initiative in Hamburg.
The aim was to create a safe, open-source, workshop-friendly 3D printer that could be fully assembled by non-experts—teachers, students, makers, and citizens—within a two-day build workshop.
Schools, libraries, makerspaces, and public institutions were the intended hosts, so the machine needed to be:
- Safe for beginners
- Well-documented
- Affordable
- Reliable
- Easy to assemble and maintain
3D printers are now widely recognized tools for personal fabrication, making them ideal candidates for such workshops.

Design Approach
Rather than designing a 3D printer entirely from scratch, the project built on a strong open-source foundation:
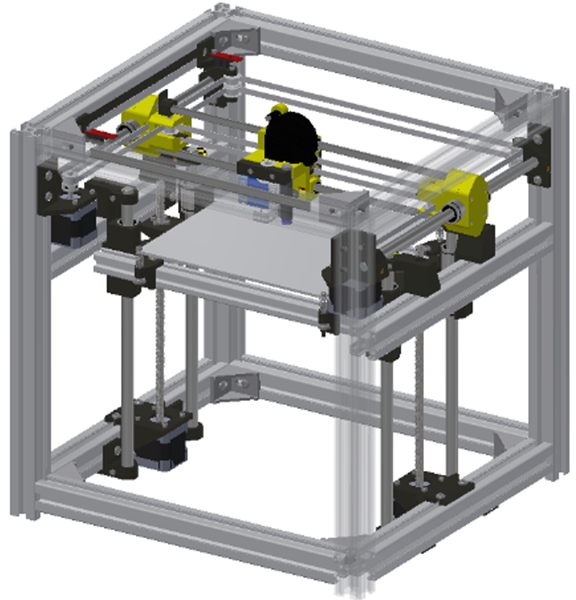
the Hypercube Evolution by Thingiverse user Scott_3D.
This design was chosen because:
- It has a proven track record of successful community replications
- Its coreXY motion system allows fast, lightweight movement
- It uses aluminium T-slot profiles for a stiff, torsionally rigid frame
- PETG 3D-printed brackets provide functional, easily manufacturable components
- Parts are widely available in the EU and through global open-source hardware suppliers


Key Improvements & Modifications
While the Hypercube Evolution is an excellent base design, several adaptations were required to meet the workshop goals.
1. Safety & Enclosure
The original printer was open-frame.
For educational environments, this presented issues:
- Hotend and heated bed exposed
- Moving parts easily reachable
- No control over internal temperature for materials like ABS
Enhancement:
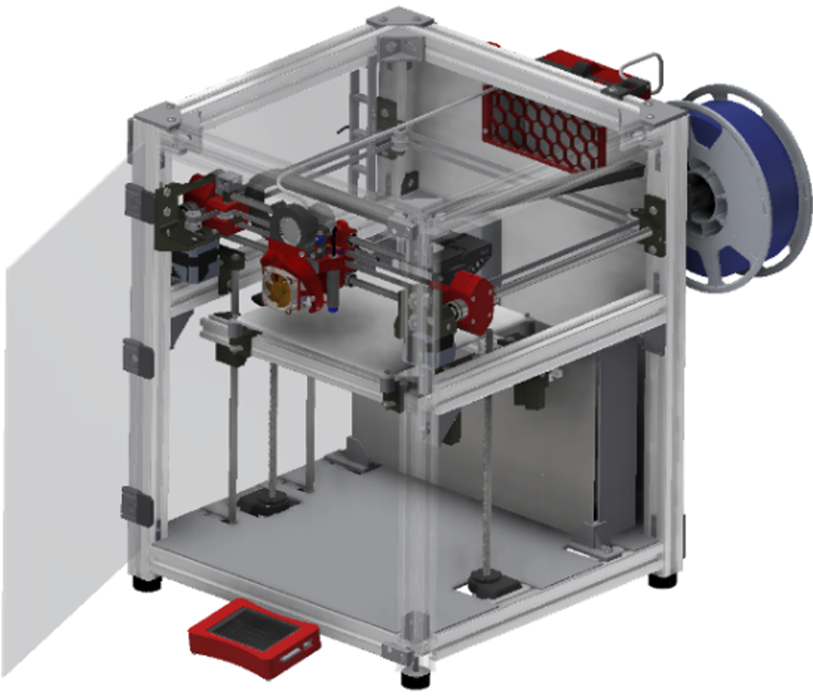
- Fully enclosed structure
- Temperature-controlled build chamber
- All mains wiring shielded and inaccessible to users
2. Electronics Modernization
The original design used:
- An 8-bit microcontroller
- 12 V power supply
- Limited processing capability for coreXY kinematics
Upgrades:
- Modern 32-bit controller
- 24 V system for improved motor performance
- Cleaner wiring layout and improved EMI protection
- Shielded endstop cables to eliminate interference issues
3. Printhead & Motion Improvements
The original Bowden setup limited the ability to print flexible materials.
Enhancement:
- Lightweight direct-drive extruder using a NEMA 14 pancake motor
- Faster acceleration due to reduced moving mass
- Neater cable routing using a compact cable chain
Additionally, the Z-axis was redesigned:
- Original: two motors directly coupled to two lead screws
- Issue: transmitted vibrations → wavy surface patterns
- New approach: single Z motor driving both screws via a closed-loop belt
- Synchronizes movement
- Eliminates bed vibrations
- Improves surface quality
Educational Materials & Build Manual
A major outcome of the project was a LEGO-style pictographic build manual and user guide designed to enable:
- Beginners
- Students
- Educators
- Makers
…to assemble the printer with confidence and minimal prior knowledge.

These materials were used in ten build workshops across Hamburg in schools, libraries, museums, and community spaces.
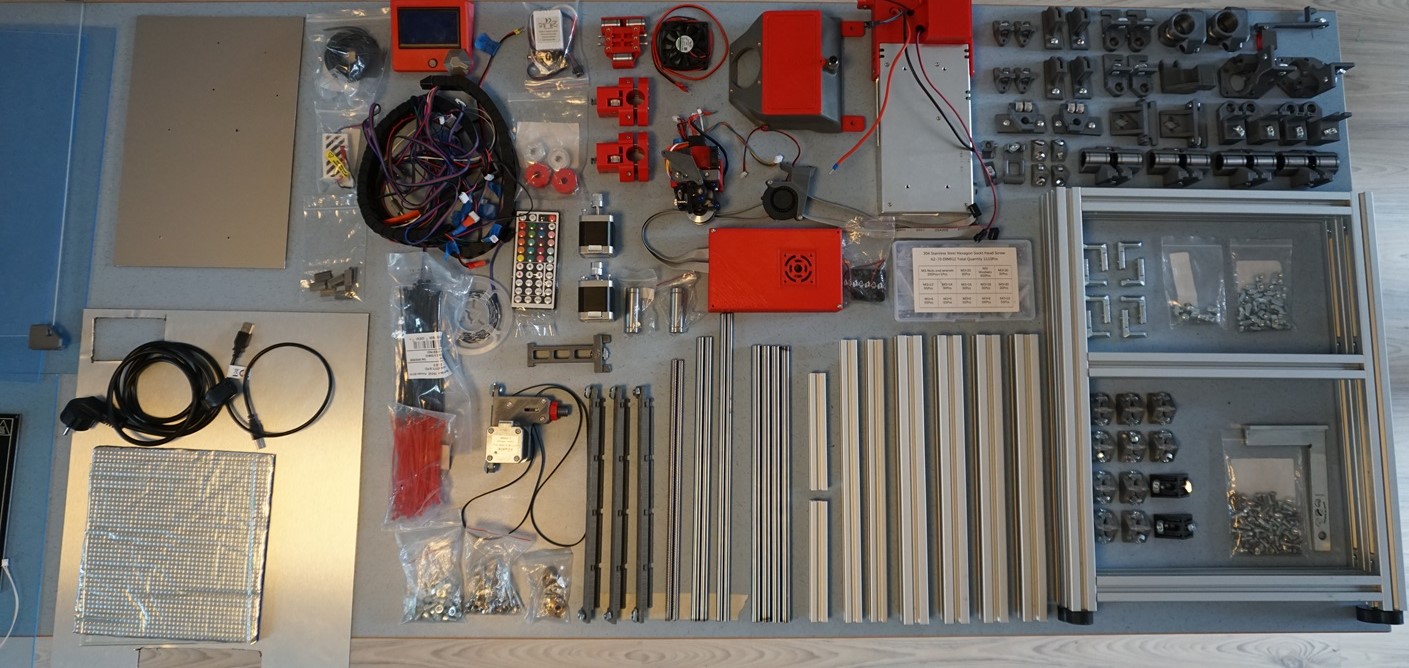
Kits were prepared by hand—sourcing components, printing parts, and packaging them into labeled sets (a process made even more… interesting by COVID-19 lockdowns and home-based production).
Participants ranged from schoolchildren to engineers, and most groups were able to:
- Build the machine from scratch in two days
- Begin printing on the second day
- Learn the fundamentals of mechanics, electronics, firmware, and machine assembly
This demonstrated that machine building, when supported by good documentation and frugal design principles, is highly accessible and empowering.
Current Status
The Remocube design, documentation, and BOM are available as open-source resources.
Further refinements continue as part of related research into frugal machine tools and digital fabrication literacy.
More images and build documentation will be added soon.
Gallery
(Insert workshop photos, printer builds, enclosure views, Z-axis details, etc.)