The Frugal 3D printer
Replicating an open source 3D printer in Oman
Overview
A frugal 3D printer derived from the open-source Remocube design, adapted for replication in Oman.
The original Remocube printer was developed and built in Germany as an open-source, workshop-friendly machine with a LEGO-like pictorial build manual. It could be replicated for about 650 EUR using off-the-shelf aluminium T-slot profiles and 3D-printed parts.
This project asks a deceptively simple question:
If an open-source 3D printer is “easy to replicate” in Europe,
what happens when you try to build the same machine in a resource-constrained context like Oman?
Problem & Context
The core research question is replicability:
How transferable are open-source machine tool designs across very different local ecosystems?
In Oman, the Remocube design runs into several obstacles:
- Heavy components are prohibitively expensive to import
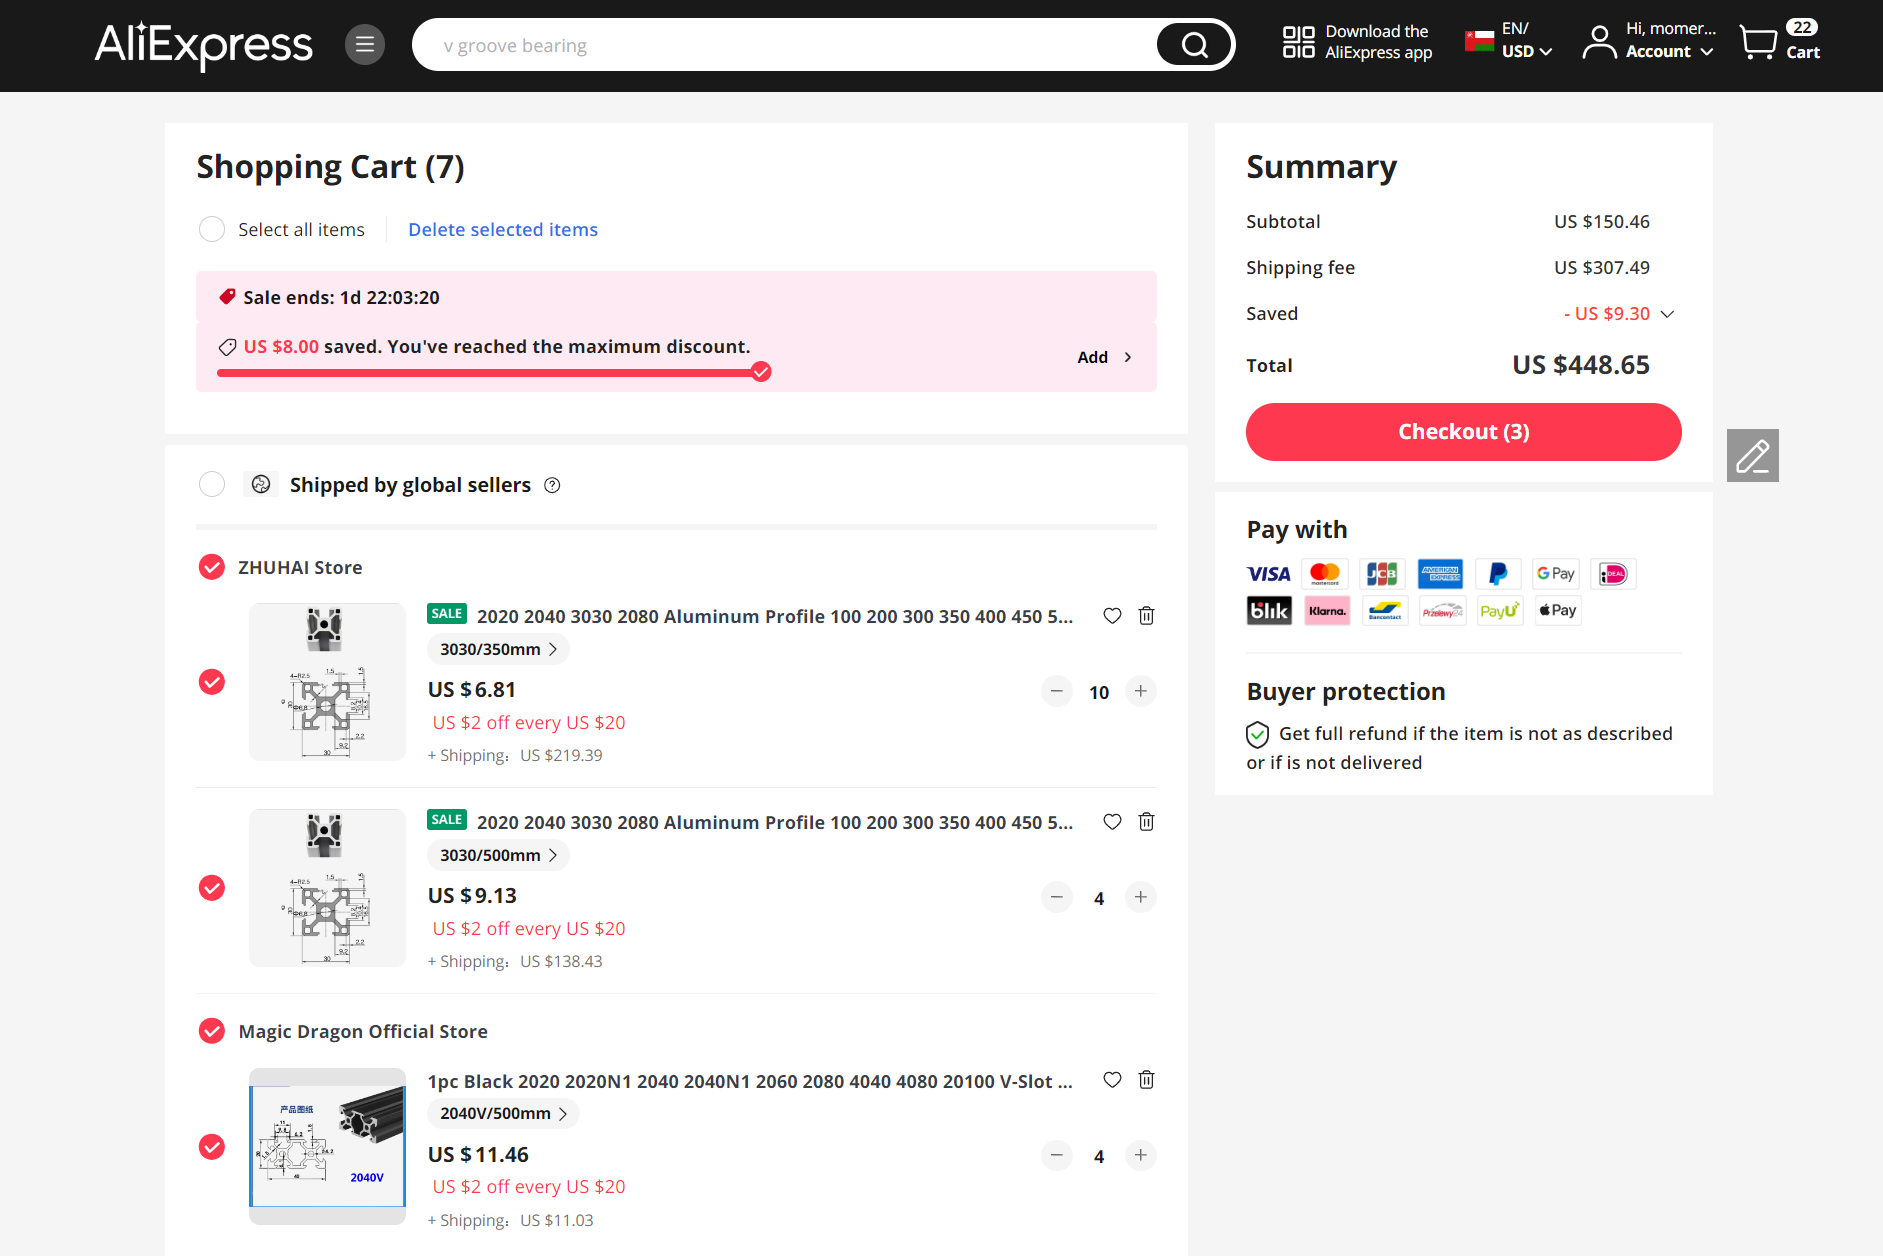
- Shipping T-slotted aluminium profiles from China cost around 2× the price of the profiles themselves.
- Limited local availability of maker infrastructure
- Few or no makerspaces, limited 3D printing services, no local shops selling 3D printers or printer parts.
- Microenterprises are set up for large steel structures, not precision frames
- Tape measures instead of calipers, no jigs, no flat reference surfaces.
- Tolerances of a few millimetres are perfectly acceptable for their usual work.
So while the design is open and documented, it is not directly replicable in this new context without substantial adaptation.

The Original Remocube 3D Printer (Brief)
The Remocube printer itself is:
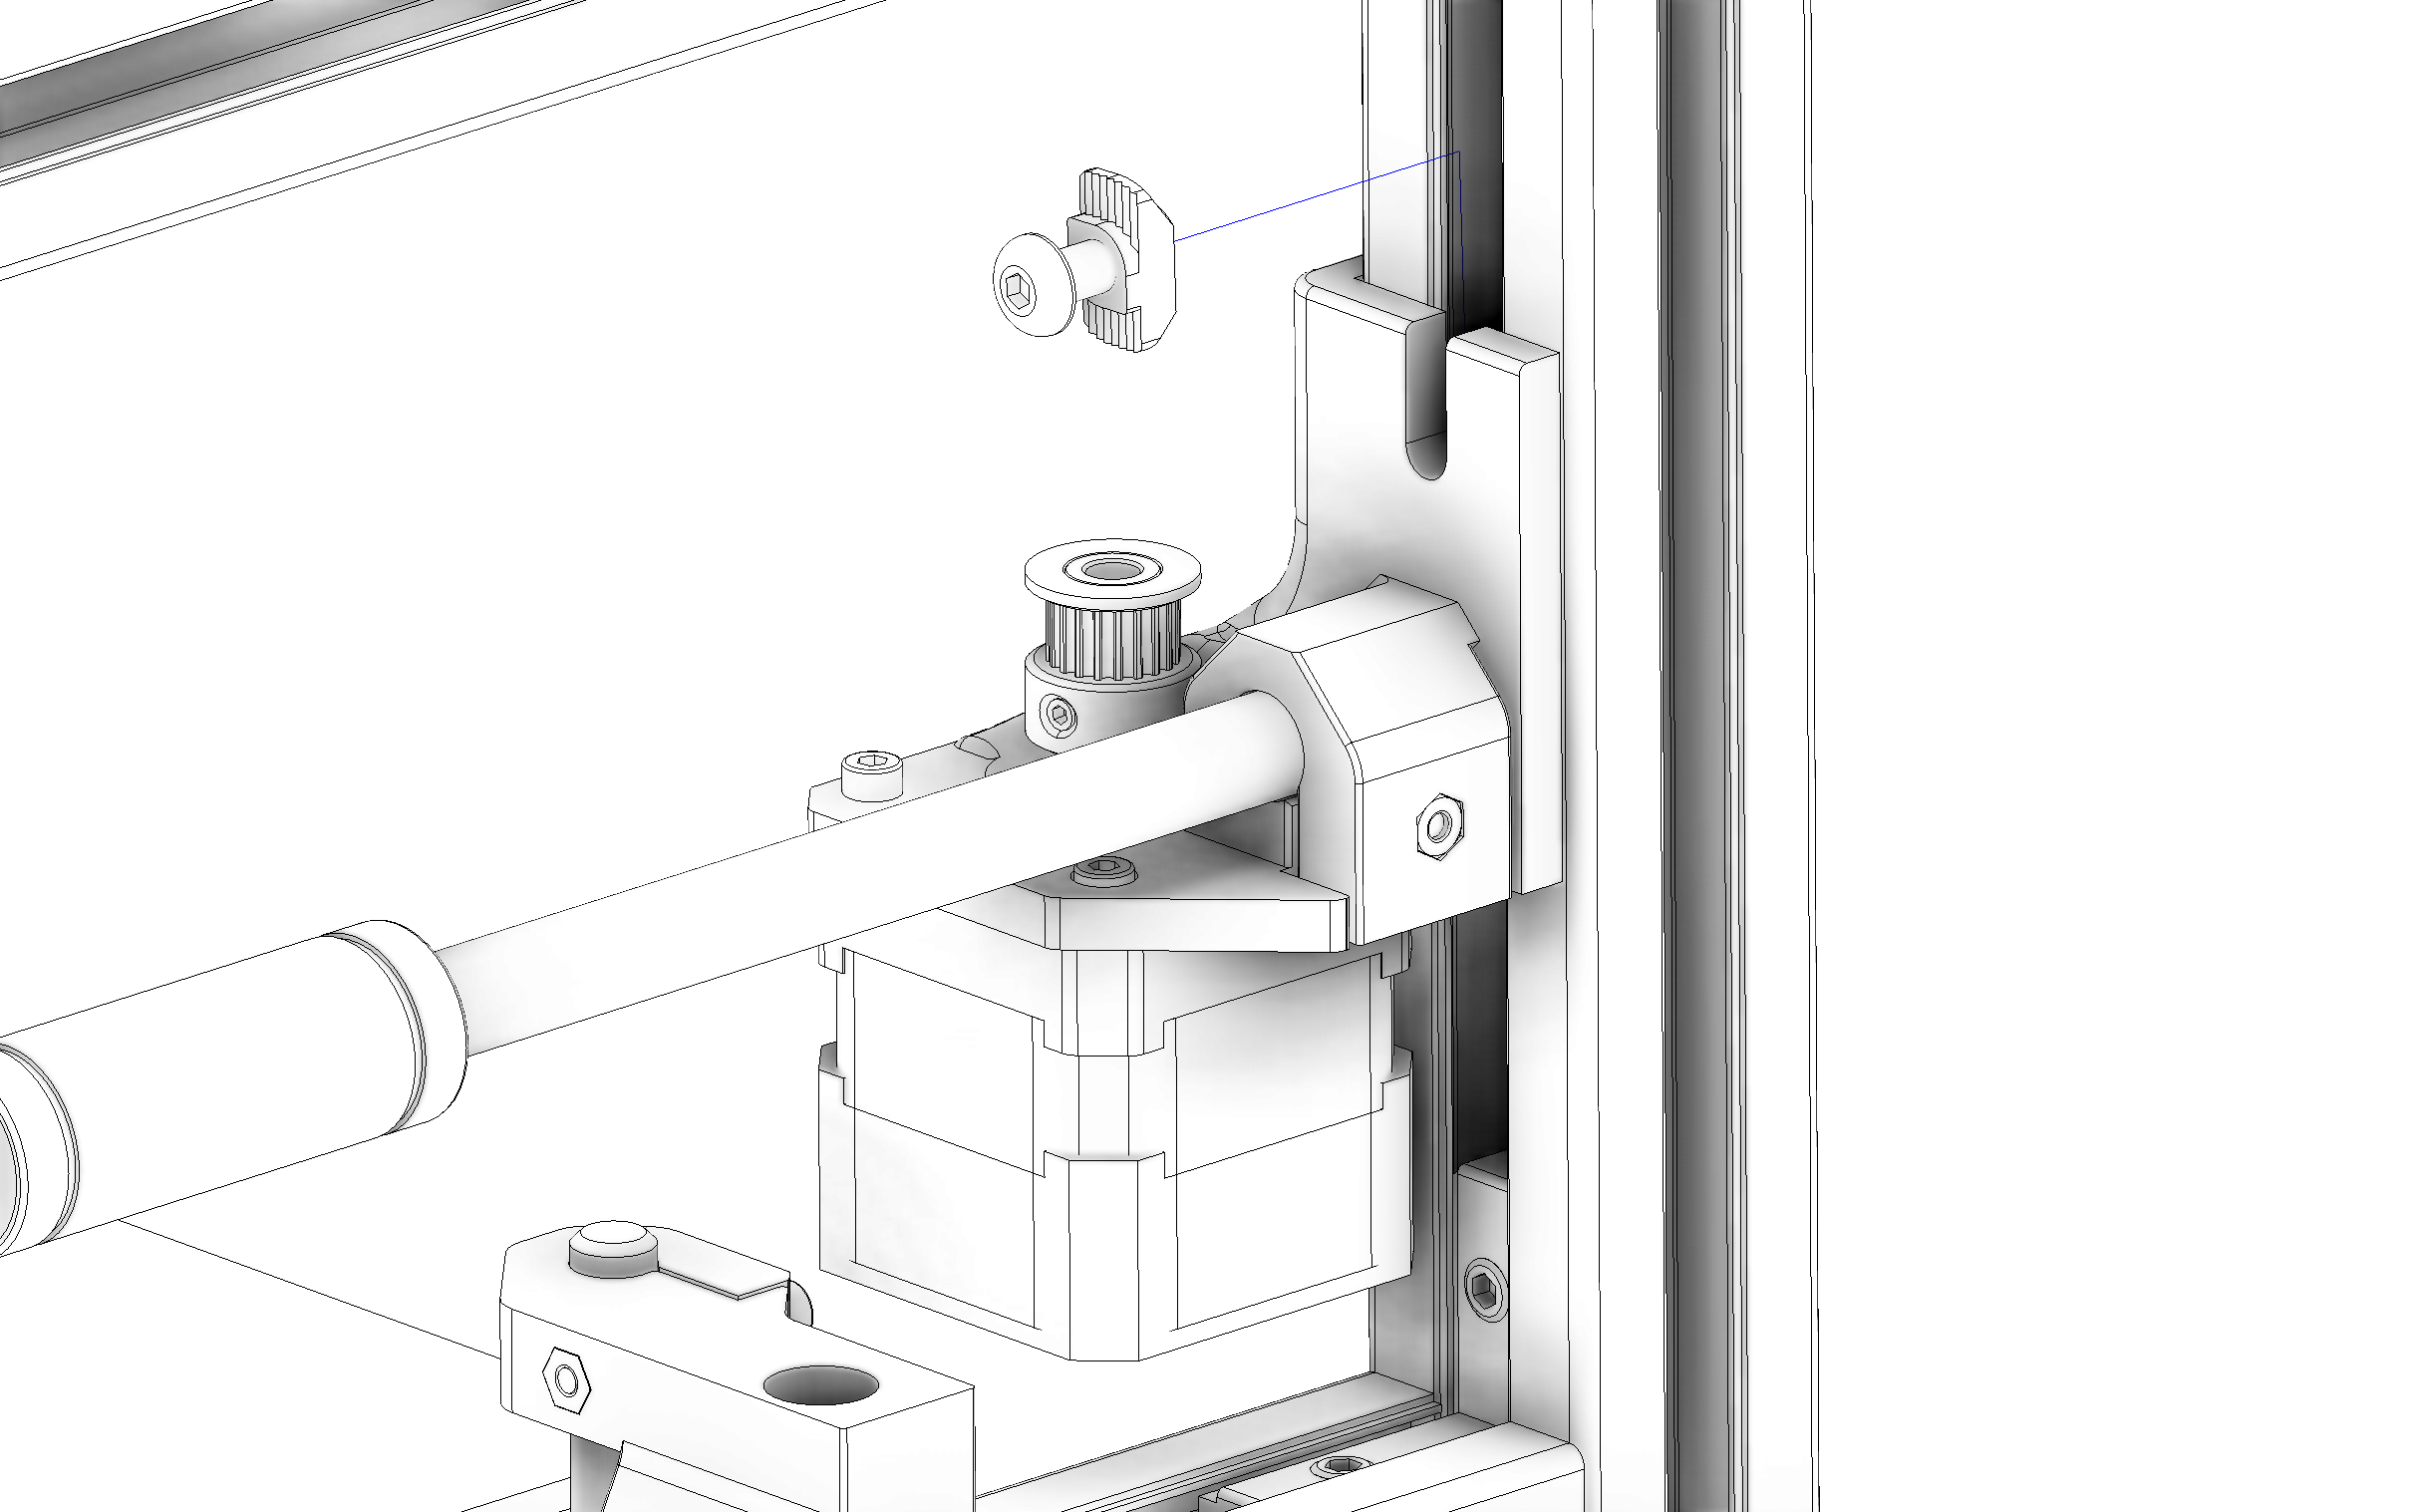
- Based on the Hypercube Evolution coreXY design.
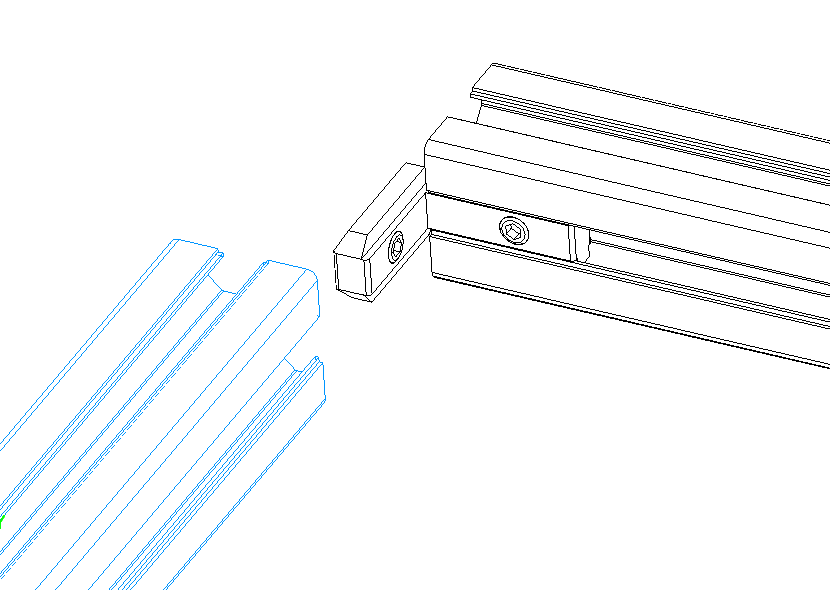
- Uses aluminium T-slot profiles for a torsionally rigid frame.
- Employs 3D-printed PETG parts for brackets and moving components.
- Upgraded with:
- Fully enclosed, temperature-controlled build chamber
- Modern 32-bit electronics and 24 V power
- Direct-drive extruder for flexible filaments
- Safer routing and shielding for cables and mains wiring
A key outcome was an IKEA-style pictographic build manual and a full BOM with EU and Aliexpress links, enabling citizens in Hamburg to build printers in two-day workshops at schools, libraries and other institutions.
The Remocube thus serves as a test case: well-documented, popular, replicable in Germany — but what changes when the same design is moved to Oman?
Adapting the Frame: From T-Slot Aluminium to Steel Profiles
With aluminium profiles unaffordable, the only realistic local alternative was steel square hollow sections.
Iteration 1 – Welded steel frame
- The first prototype frame was welded from steel profiles using the same nominal dimensions as the original T-slot design.
- Microenterprise workers were confident: they weld frames all day long.
- The welded frame:
- Cost roughly 10 EUR
- Took around one hour to fabricate
- Was dramatically cheaper than the ~450 EUR aluminium frame
However, once assembled, measurable warp and dimensional errors caused binding on the X, Y and Z axes. For a 3D printer, small misalignments that are irrelevant in structural steel work become critical.
Iteration 2 – Bolted steel frame
To gain better control over tolerances, the frame was redesigned to be bolted instead of welded:
- 31 brackets
- ≈ 372 drilled holes
- Holes slightly oversized (e.g. 7 mm for M6 bolts) to allow adjustment during assembly
This approach:
- Greatly improved alignment and squareness
- Was extremely labour-intensive and still limited by local tooling
- Required workaround strategies because:
- No jigs or surface plates were available
- Fabrication was done with a tape measure rather than precision instruments
To compensate, 1:1 paper templates were printed, glued to the profiles, center-punched, and then drilled — the same trick used in the CNC gas cutter project.


3D Printing in a Context Without 3D Printers
Another paradox emerged:
The original design expects you to have a 3D printer to build a 3D printer.
In Germany this is trivial: you either own a printer, know someone who does, or visit a local makerspace. In Oman:
- 3D printing services existed only as expensive niche offerings.
- There were no local makerspaces where parts could be printed cheaply.
- No shops sold printers or filaments.
The solution in this case was to collaborate with a local university, which printed the required parts within a research context. This works for a field study, but it highlights that:
“Open source + STL files” does not automatically equal “locally replicable”.
Lessons on Replicability
This project shows that replicating an open-source 3D printer in a resource-constrained setting is less about:
- Licenses
- Firmware files
- Or even build manuals alone
…and much more about:
- The local parts ecosystem (what can be bought or scavenged)
- Available manufacturing capabilities (welding vs precision drilling, jigs, measurement tools)
- Hidden costs of shipping and services
- The paradox of relying on advanced tools (like 3D printers) that are themselves not yet democratized in that context
The “Frugal 3D Printer” is therefore not just another printer, but a case study in what it really takes to translate open hardware across geographies.
More detailed technical adaptations and evaluations are part of ongoing research.
Repository links, BOMs and manuals for the Remocube design are available via the project’s open-source repository (link to be added here).
Gallery
(Additional build photos, frame iterations, and workshop impressions can be added here.)